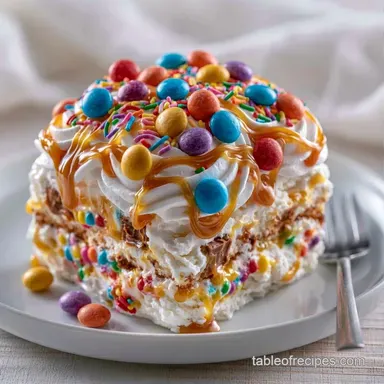
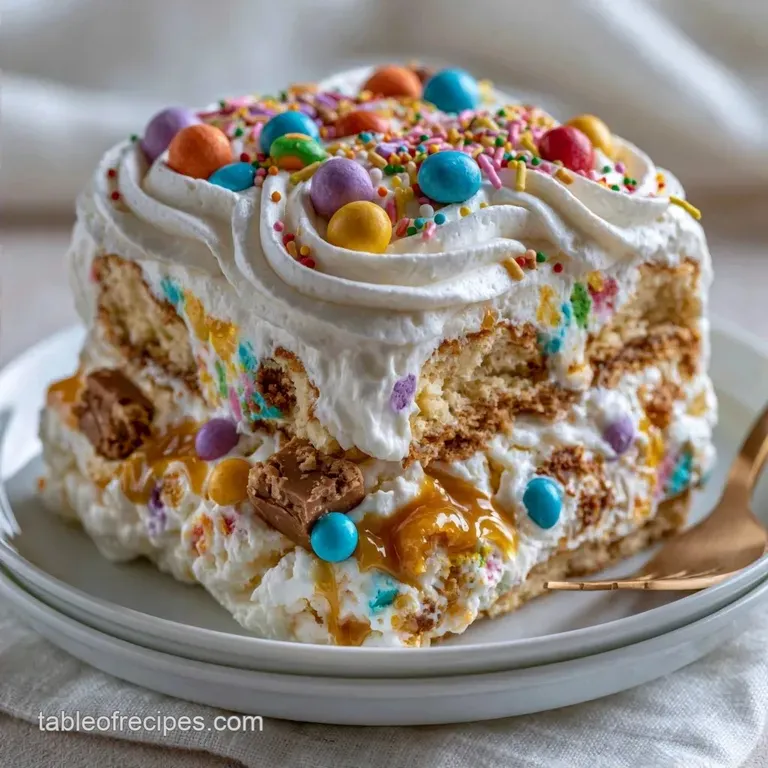
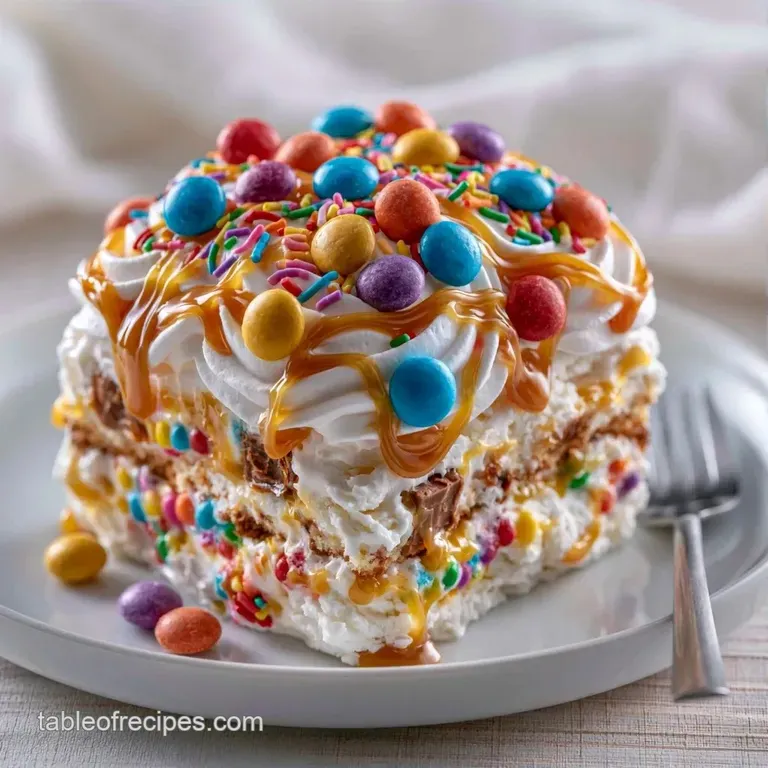
Loaded Candy Ice Cream Sandwich Cake with Hot Fudge
- Time: 15 min active + 3 hours chilling
- Flavor/Texture Hook: Brittle candy crunch against a rich, cold cream
- Perfect for: Birthday parties or high energy dessert crowds
I've seen it happen too many times. You spend an hour building a gorgeous ice cream cake, but the second it hits the table, the whipped cream topping starts to slide off in one giant, sad sheet. It's usually because the base is too warm or the cream lacks the structural integrity to grip the ice cream.
This recipe solves that by replacing basic whipped cream with a stabilized cream cheese foam. This creates a literal anchor for the toppings, so your dessert stays put from the freezer to the plate.
The result is a Loaded Candy Ice Cream Sandwich Cake that actually holds its shape. We're talking about a dense, frozen architecture that supports a heavy load of candy without collapsing into a puddle.
Key Techniques Explained
- Cream Cheese Stabilization: Adding softened cream cheese to the heavy cream creates a more stable emulsion. This prevents the "weeping" often seen in whipped toppings, as the cheese proteins hold the air bubbles in place.
- Layering Order: By alternating ice cream sandwiches with warm sauces, we create "glue" layers. This ensures the cake doesn't shift when you cut into it.
According to King Arthur Baking, stabilizing a cream prevents it from deflating, which is the exact mechanism we use here to support the weight of the chocolate shell and candy.
Recipe Specs
Before we get into the build, let's look at the logistics. Precision is the difference between a cake and a mess.
For those who like to plan, the timeline is strict. You cannot skip the three hour freeze. If you try to slice this at the two hour mark, the center will be too soft, and you'll lose those clean, professional looking edges.
| Method | Prep Time | Texture | Best For |
|---|---|---|---|
| Pre made Sandwiches | 15 min | Consistent & Dense | Large Parties |
| Homemade Sandwiches | 90 min | Softer & Custom | Small Groups |
Shopping List Breakdown
I'm using metric equivalents here for better precision, but the volume measurements are listed first.
The Base Layers 12 vanilla ice cream sandwiches Why this? Provides the structural walls of the cake 1/2 cup (120 ml) hot fudge sauce Why this? Acts as a sticky adhesive 1/2 cup (120 ml) salted caramel sauce Why
This? Adds salt to balance the sugar
The Stabilized Topping 8 oz (225 g) cream cheese, softened Why this? Prevents the topping from sliding 1 cup (240 ml) heavy whipping cream, cold Why this? Provides the lift and air 1/2 cup (60 g) powdered sugar Why
This? Sweetens and stabilizes the foam 1 tsp (5 ml) vanilla extract Why this? Deepens the cream flavor
The Candy Load 1 cup (240 ml) chocolate magic shell Why this? Hardens instantly for a snap 1 cup (120 g) crushed Heath bars Why this? Adds a toffee crunch 1/2 cup (85 g) mini chocolate chips Why this? Adds texture
Variation 1/2 cup (90 g) rainbow M&Ms Why this? Visual pop and chocolatey snap
What Each Ingredient Does
| Component | Purpose | Substitute Notes |
|---|---|---|
| Cream Cheese | Structure | Mascarpone: Creamier but less stable |
| Magic Shell | Sealant | Melted chocolate: Takes longer to set |
| Hot Fudge | Adhesive | Chocolate ganache: Richer, slightly softer |
| Heath Bars | Texture | Almond Roca: Similar toffee profile |
Right then, let's talk about cost. This is a heavy dessert, but you can tweak the candy.
| Premium Option | Budget Option | Impact | Savings |
|---|---|---|---|
| Imported Toffee | Generic Toffee Bits | Minimal flavor difference | $3-5 |
| Brand Name Sandwiches | Store Brand | Texture may be slightly airier | $4-6 |
Equipment Needed
Don't try to eyeball the assembly. You need the right tools to keep the lines straight.
You'll need an 8x8 inch baking pan. If you use a larger pan, your sandwiches won't fit snugly, and the cake will lean. A stand mixer such as KitchenAid is great for the cream, but a hand mixer works if you're patient.
Most importantly, grab a roll of parchment paper. If you don't line the pan with an overhang, you'll be fighting the cake to get it out, and the sides will likely smear. Also, keep a bowl of hot water ready for the final slicing phase.
From Prep to Plate
Let's get this built. Remember, the ice cream sandwiches should be frozen solid before you start.
Phase 1: Building the Foundation
- Line an 8x8 inch baking pan with parchment paper, leaving an overhang on the sides for easy removal.
- Place 4 ice cream sandwiches side by-side in a single layer at the bottom of the pan.
- Drizzle half of the warmed hot fudge and salted caramel over the first layer, spreading evenly with a spatula. Note: Warm the sauces just enough to make them pourable.
- Repeat the process with a second layer of 4 ice cream sandwiches and the remaining sauces.
- Top with the final 4 ice cream sandwiches, pressing down gently to level the surface.
Phase 2: The Stabilized Cream Layer
- In a chilled bowl, beat softened cream cheese and powdered sugar until smooth. Note: Ensure the cheese is soft to avoid lumps.
- Slowly pour in the cold heavy whipping cream and vanilla extract, beating until stiff peaks form. Wait until the cream stands straight up when you lift the beaters.
- Spread the stabilized cream mixture evenly over the top layer of ice cream sandwiches.
Phase 3: The Candy Load & Chill
- Pour the chocolate magic shell over the cream layer and immediately sprinkle with crushed Heath bars, mini chocolate chips, and rainbow M&Ms.
- Chill the cake in the freezer for 3 hours before slicing with a knife dipped in hot water.
Chef's Note: To get those clean, bakery style slices, dip your knife in hot water and wipe it dry between every single cut. This prevents the ice cream from dragging into the cream layer.
Avoiding Kitchen Disasters
The most common issue is a "collapsed" topping. This happens when the heavy cream isn't cold enough or the cream cheese wasn't beaten smooth before the cream was added. If you see bubbles or gaps, your emulsion has failed.
Another issue is the "sandwich shift." This happens if the sandwiches are too soft when you layer them. They should be rock hard. If they've started to melt, put them back in the freezer for 20 minutes before continuing.
Topping Is Too Soft
If the cream layer doesn't hold a peak, it's likely due to temperature. Ensure your mixing bowl is chilled. If it's already too soft, you can't really "fix" it without adding more stabilizer, so just freeze it longer.
Cake Slides In Pan
This usually means the parchment paper wasn't secured or the base layers weren't pressed down. Always press the final layer of sandwiches firmly to lock everything in.
Magic Shell Is Dull
If the chocolate shell doesn't have a gloss, it might have been overheated. Use the manufacturer's instructions for warming it to keep that snap.
| Problem | Root Cause | Solution |
|---|---|---|
| Topping slides | Weak emulsion | Use chilled cream and full fat cheese |
| Layers separating | Sauces too cold | Warm sauces slightly before drizzling |
| Jagged slices | Knife too cold | Dip knife in hot water between cuts |
Mix It Up
Once you've nailed the Loaded Candy Ice Cream Sandwich Cake, you can play with the flavors. The structural logic remains the same regardless of the candy you choose.
For a different flavor profile, you could swap the vanilla sandwiches for chocolate. If you're craving something with a bit more salt, try my Cream Cake for 12 recipe for a similar build with a nuttier finish.
If you prefer a different cookie base, an Oreo sandwich cake is a great alternative. Just keep the stabilized cream topping the same to ensure the weight of the toppings doesn't crush the cookies.
- For a firmer set
- chill 4 hours instead of 3.
- For a softer bite
- let it sit at room temperature for 5 minutes before slicing.
- For a nut free version
- swap Heath bars for crushed pretzels or extra M&Ms.
Storage and Reheating
This is a freezer only dessert. Do not attempt to store it in the fridge, as the ice cream sandwiches will lose their structural integrity and the cake will slump.
Store the cake in the freezer in its original pan, covered tightly with plastic wrap to prevent freezer burn. It will stay fresh for up to 2 months. Any longer than that, and the cookies in the sandwiches may start to absorb moisture and become mushy.
As for zero waste, if you have leftover magic shell or candy, don't toss them. Use the leftover chocolate to drizzle over frozen bananas or stir the crushed Heath bars into a batch of homemade brownies.
What to Serve With
Because this cake is incredibly rich and sweet, you need a contrast to keep it from being overwhelming. A tart berry coulis or fresh raspberries on the side can cut through the fat of the cream cheese and ice cream.
The beverage match is just as important. Avoid sweet drinks. A strong, bitter espresso or a cold brew coffee is the best pairing here. The acidity and bitterness of the coffee balance the sugar in the caramel and fudge.
If you're serving this at a party, present it in the pan but lift it out using the parchment overhang. This creates a clean, rectangular block that looks intentional and modern. Serve small slices, as the calorie density is high.
Recipe FAQs
How to slice the cake without it cracking?
Dip your knife in hot water between every cut. This melts the ice cream slightly for a smooth, professional edge.
Is it true that I can store this ice cream cake in the refrigerator?
No, this is a common misconception. The ice cream sandwiches will lose their structural integrity and the cake will slump.
What other variations can I try?
Swap the vanilla sandwiches for a different flavor. If you enjoyed the assembly technique here, see how the same layering principle works in our creamy layered dessert.
How long should the cake freeze before serving?
Chill for exactly 3 hours. This ensures the layers set firmly enough to slice without collapsing.
Loaded Candy Ice Cream Cake