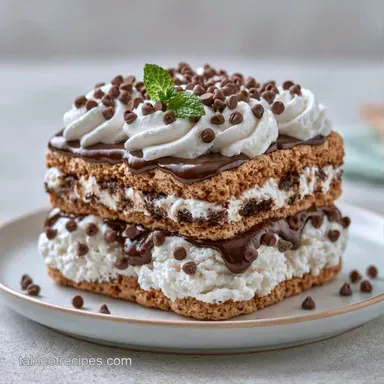
Small Batch Ice Cream Sandwich Cake with Hot Fudge
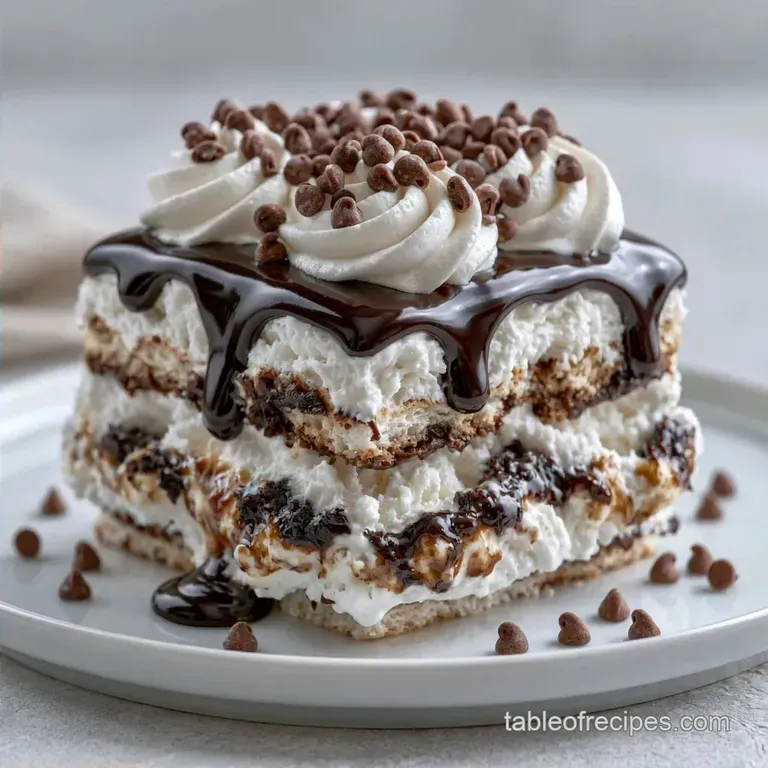
- Time:15 minutes active + 6 hours 15 mins chilling
- Flavor/Texture Hook: Fudgy, creamy, and cold
- Perfect for: Small families or a low effort dessert craving
Small Batch Ice Cream Sandwich Cake Guide
The sound of that freezer door clicking shut is the most satisfying part of this process. You're essentially locking in a frozen puzzle of chocolate and cream, and the anticipation is the real treat.
For a long time, the go to move for this dessert was the massive 9x13 party pan, but that's usually a mistake for anyone not feeding a whole soccer team.
Most people think you need a huge batch to get those distinct, clean layers. Truth is, you don't need a giant pan to get a professional look. A smaller scale actually helps the cake hold its shape better when you slice into it.
This Small Batch Ice Cream Sandwich Cake is designed for an 8x8 pan, meaning you get all the richness without the guilt of wasting half a cake. It's a focused, precise way to build a frozen dessert that doesn't slump in the center.
Why This Version Stays Firm
Compact Footprint: An 8x8 pan provides more lateral support for the ice cream sandwiches, preventing the "leaning tower" effect common in larger cakes.
Layered Density: Alternating the heavy fudge with stabilized whipped cream creates a structural grid that locks the sandwiches in place. For those who prefer a different style, a double chocolate cake offers a similar richness but a different base.
Temperature Sync: Using store-bought sandwiches that are already frozen allows the fudge to cool instantly upon contact, which prevents the ice cream from melting into a soup during assembly.
| Method | Time | Texture | Best For |
|---|---|---|---|
| No Bake (Sandwich) | 15 mins active | Chewy and creamy | Quick assembly |
| Oven Bake (Cake) | 1 hour active | Spongy and rich | Traditional feel |
Shopping List Breakdown
| Component | Purpose | Substitute Notes |
|---|---|---|
| Ice Cream Sandwiches | Structural base | Use cookies and ice cream separately. Note: More effort to layer |
| Heavy Whipping Cream | Airy volume | Coconut cream. Note: Less stable, needs more chilling |
| Hot Fudge Sauce | Binding agent | Chocolate ganache. Note: Thicker, harder to spread |
| Salted Caramel | Top accent | Maple syrup. Note: Thinner, less salty |
The Essentials
- 12 store-bought ice cream sandwiches (approx. 2 oz / 56g each) Why this? Provides the uniform structure needed for slicing
- 1 cup hot fudge sauce Why this? Acts as the "glue" between layers
- 1 cup heavy whipping cream Why this? Creates the necessary lift and lightness
- 1/4 cup powdered sugar Why this? Stabilizes the cream and adds sweetness
- 1 tsp vanilla extract Why this? Rounds out the chocolate notes
- 1/2 cup mini chocolate chips Why this? Adds a snap to the smooth cream
- 1/2 cup whipped topping Why this? Adds extra stability to the top layer
- 1/4 cup salted caramel sauce Why this? Cuts through the richness with salt
Equipment Needed
While you don't need professional equipment, a couple of key items make the process easier. Use a cold metal bowl for whipping the cream; if the bowl is too warm, the fat may separate before the cream reaches stiff peaks.
An offset spatula is ideal for smoothing the cream, though the back of a large spoon can work if you don't mind struggling a bit more with the edges. Since this Small Batch Ice Cream Sandwich Cake relies on an 8x8 inch baking pan, ensure it is perfectly square so the sandwiches fit tightly.
Don't forget the parchment paper. Attempting to lift a frozen cake without a parchment sling often results in it crumbling.
Key Steps
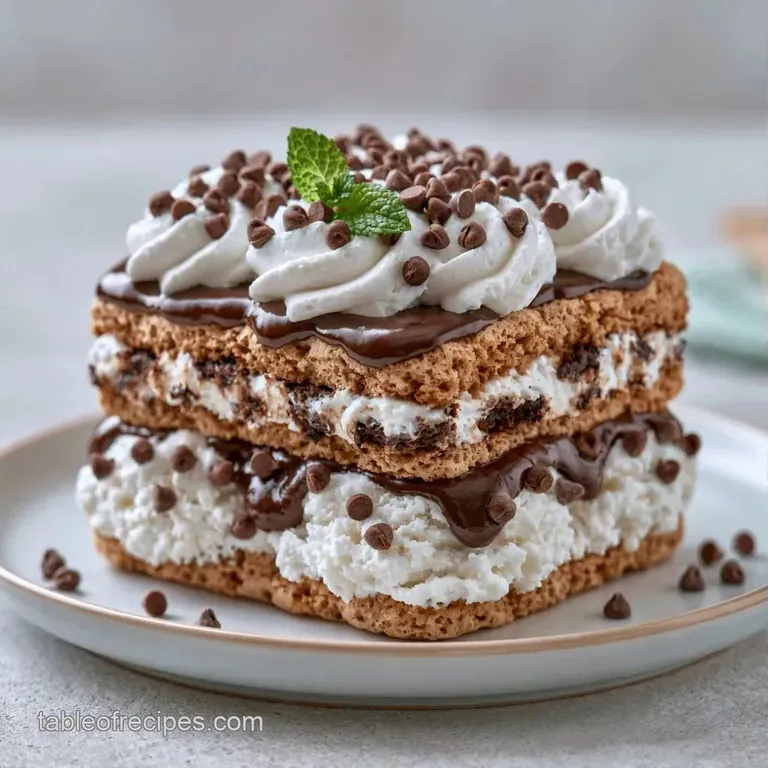
Phase 1: Preparing the Foundation
- Prepare an 8x8 inch pan by lining it with parchment, ensuring a one-inch overlap on the sides. Note: This creates a handle to lift the cake later
- Position 6 ice cream sandwiches at the base of the pan, slicing the sides with a knife until they fit snugly with no gaps.
- Pour half of the warmed hot fudge sauce evenly across the initial layer of sandwiches.
Phase 2: Building the Creamy Center
- Using a cold bowl, whip together the heavy cream, powdered sugar, and vanilla until stiff peaks form.
- Carefully fold the mini chocolate chips into the cream mixture.
- Layer half of the whipped cream over the fudge, using an offset spatula to smooth it to the corners.
Phase 3: Finishing and Setting
- Lay the other 6 ice cream sandwiches on top, trimming where necessary, and drizzle with the rest of the hot fudge.
- Spread the rest of the whipped cream over the cake, leveling the surface into a flat plane.
- Pour the salted caramel sauce in a zigzag pattern across the top.
- Seal the pan with plastic wrap and let it set in the freezer for a minimum of 6 hours until the center is firm to the touch.
Troubleshooting Guide
Fixing a Soft Center
Should the center still feel spongy after 6 hours, your freezer might be too warm or the pan too crowded. Give it another 2 hours of freezing. To ensure better stability, make sure the whipped cream has reached stiff peaks before you spread it.
Preventing Soggy Sandwiches
Sandwiches left at room temperature during assembly tend to weep, creating a watery layer that spoils the texture. To avoid this, keep them frozen until the very moment you are ready to arrange them in the pan.
Achieving Clean Slices
Avoiding the "smush" is the hardest part. For clean, square cuts, use a knife warmed in hot water, drying the blade after each slice. This allows the blade to glide through frozen layers without pulling fudge into the cream.
Handling Runny Fudge
If the fudge is too runny, it may soak into the ice cream sandwiches and cause mushiness. Heat it just until it's pourable rather than hot. Aim for a thick syrup consistency instead of a thin liquid.
Creative Twists and Swaps
If you want to change the flavor profile, you can easily swap the inclusions. For an "Oreo Overload" version, replace the mini chocolate chips with crushed Oreo cookies and use an ice cream cake with Oreos as your inspiration.
For a peanut butter punch, swap the salted caramel drizzle for melted peanut butter mixed with a bit of honey. This pairs brilliantly with the chocolate fudge. If you're looking for something with a bit more variety, a candy loaded cake is a great way to use up leftover sweets.
Quick adjustments for your goal:
- More crunch? → fold in 1/2 cup crushed pretzels
- Less sweet? → use dark chocolate fudge (70% cocoa)
- Nutty flavor? → add 1/4 cup toasted pecans to the cream
Freezing and Reheating Guide
This Small Batch Ice Cream Sandwich Cake lives in the freezer. It stays fresh for up to 2 weeks if wrapped tightly in plastic wrap and then foil to prevent freezer burn. Don't bother with the fridge; it will melt too quickly and lose its structural integrity.
For zero waste, if you have leftover whipped cream or fudge, freeze the cream in ice cube trays to use as "dollops" for future desserts. Any leftover caramel can be drizzled over morning oatmeal or yogurt.
When you're ready to serve, let the cake sit on the counter for 5 to 10 minutes. This softens the edges just enough for the knife to glide through without cracking the ice cream sandwiches.
Serving Suggestions
Since this is a rich dessert, a bit of acidity on the side helps. Fresh raspberries or sliced strawberries provide a tart contrast to the heavy chocolate and caramel.
Serve each square on a chilled plate to slow down the melting process. If you're feeling fancy, add a single fresh mint leaf on top of the caramel drizzle for a pop of color. Trust me on this, the contrast of the cold cake and a warm cup of espresso is the best way to enjoy this.
Recipe FAQs
How to make a small ice cream cake?
Line an 8x8 inch pan with parchment paper. Layer ice cream sandwiches, hot fudge, and whipped cream, then freeze for at least 6 hours.
Can I use Oreo sandwiches for this?
Yes, cookie based sandwiches work great. For a dedicated flavor profile, check out our Oreo version.
Is it true the cake is ready in two hours?
That's a myth. It requires at least 6 hours or overnight in the freezer to ensure the layers are firm enough to slice.
Which storage method prevents freezer burn?
Cover the pan tightly with plastic wrap. This seals out air and keeps the whipped cream from absorbing odors during long term storage.
Why use an 8x8 pan specifically?
It creates a dense, tall cake. A larger pan would spread the 12 sandwiches too thin, resulting in a flat dessert.
What is the secret to clean slices?
Dip a sharp knife in hot water. Wipe the blade clean between every cut to prevent the ice cream from smearing across the layers.
Small Batch Ice Cream Sandwich Cake