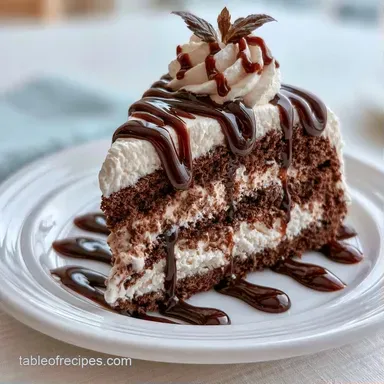
Chocolate Ice Cream Sandwich Cake with Cream Cheese
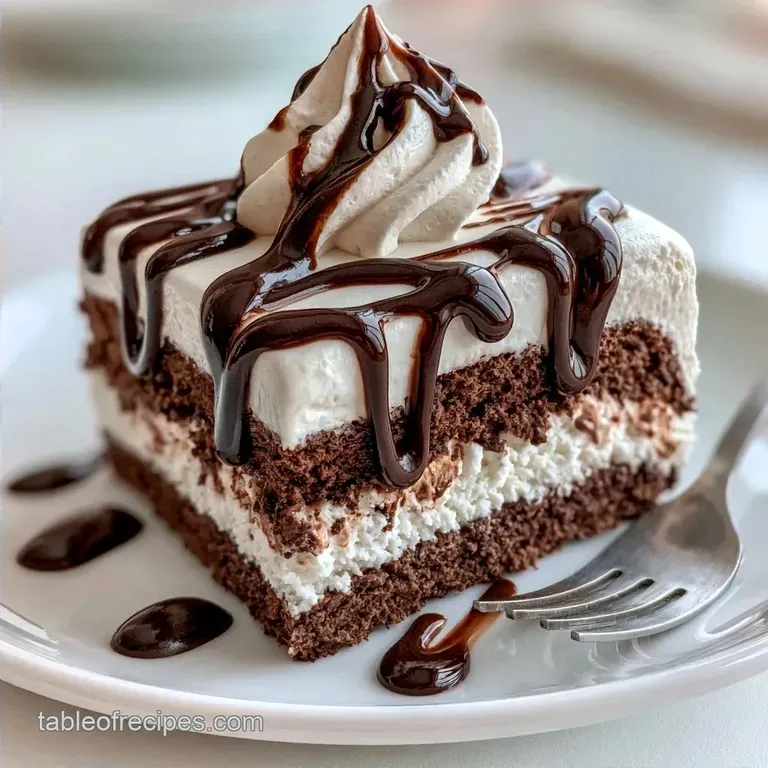
- Time: 10 min active + 3 hours chilling
- Flavor/Texture Hook: Fudgy chocolate layers with a tangy, smooth cream finish
- Perfect for: Summer parties or high impact dessert boards
The sound of a freezer door clicking shut is usually the end of the work. But for this dessert, it's where the chemistry starts. I remember bringing a version of this to a family reunion last July. The humidity was so high that most cakes would have turned into puddles within ten minutes.
This treat stayed solid because it doesn't rely on delicate sponge. Instead, it uses frozen wafers as a structural anchor. It's the kind of dessert that lets you stop worrying about the weather and start focusing on who gets the corner piece.
You can expect a dense, rich profile. This Double Chocolate Ice Cream Sandwich Cake balances the heavy sweetness of the fudge with the sharpness of Greek yogurt, ensuring it doesn't feel cloying.
Precision Behind the Set
Wafer Stability: The chocolate wafers act as moisture barriers. This prevents the cream cheese layer from soaking into the ice cream, which keeps the layers distinct.
Fat Acid Balance: Combining cream cheese and Greek yogurt creates a stable emulsion. The acidity in the yogurt prevents the fat from feeling too heavy on the palate.
Thermal Binding: Freezing for 3 hours allows the fudge and cream to reach a uniform temperature. This binds the components into a single, sliceable block.
Technical Recipe Specs
The success of this build depends on the 8x8 inch (20x20 cm) pan geometry. If the sandwiches aren't flush, the cake will lean.
| Goal | Adjustment |
|---|---|
| For a firmer set | Freeze 4 hours instead of 3 |
| For a sweeter top | Use milk chocolate chips |
| For a tangier filling | Increase Greek yogurt by 2 tbsp |
Ingredient Deep Dive
| Ingredient | Role | If You Don't Have It |
|---|---|---|
| Chocolate Ice Cream Sandwiches | Structural base | Brownie slices (thicker) |
| Light Cream Cheese | Binding agent | Mascarpone (richer) |
| Greek Yogurt | Texture lightener | Sour cream (thicker) |
| Dark Chocolate Chips | Glaze solids | Chopped cocoa bar |
Ingredients & Substitutions
- 12 standard size chocolate ice cream sandwiches Why this? Provides the primary structure and sweetness.
- Substitute: Brownie slices (adds chewiness but less stability)
- 1 cup chocolate fudge sauce Why this? Adds a sticky, fudgy interface between layers.
- Substitute: Ganache (more stable, less sweet)
- 8 oz light cream cheese, softened Why this? Creates a thick, spreadable cream layer.
- Substitute: Full fat cream cheese (denser texture)
- 1 cup plain strained Greek yogurt Why this? Cuts the richness with lactic acidity.
- Substitute: Labneh (more concentrated flavor)
- 1/4 cup maple syrup Why this? Liquid sweetener that blends easily.
- Substitute: Honey (adds distinct floral notes)
- 1 tsp vanilla extract Why this? Enhances the chocolate profile.
- Substitute: Almond extract (nutty finish)
- 1/2 cup dark chocolate chips Why this? Creates a snap hard glaze.
- Substitute: Semi sweet chips (milder flavor)
- 1 tbsp coconut oil, melted Why this? Ensures the glaze stays glossy.
- Substitute: Unsalted butter (classic taste)
Essential Tool List
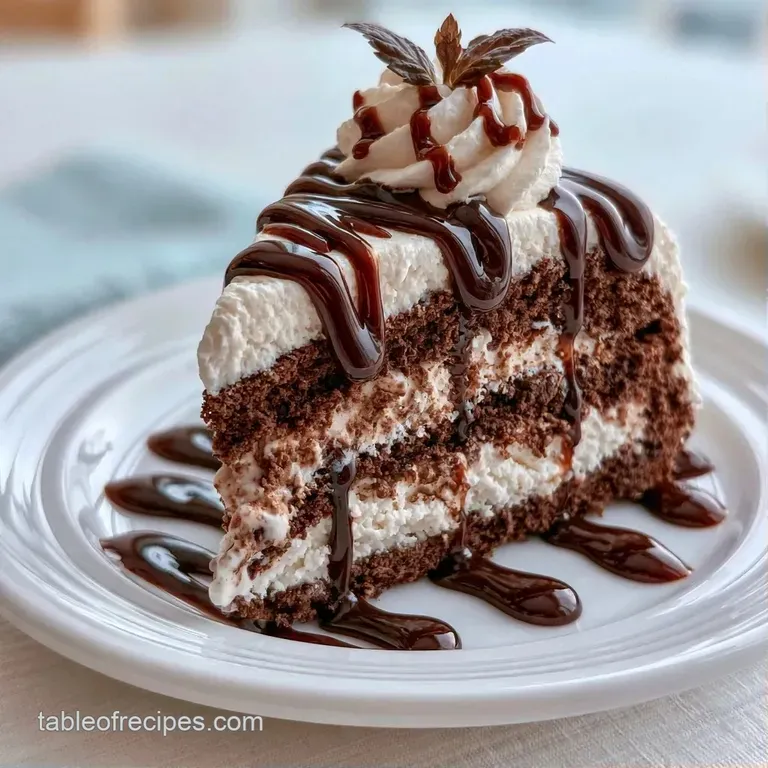
To achieve the necessary precision for this build, don't rely on guesswork. Use the following tools to ensure a polished finish.
- 8x8 inch (20x20 cm) square baking pan
- Parchment paper (for the sling)
- Electric hand mixer or stand mixer
- Silicone spatula
- Microwave safe glass bowl
Steps for Assembly
Phase 1: Building the Foundation
- Prepare an 8x8 inch square baking pan by lining it with parchment paper, letting the edges hang over the sides. Note: This makes it easier to lift the cake out without damaging the wafers.
- Position 6 ice cream sandwiches side-by-side at the bottom of the pan. Use a knife to trim them until they fit flush against the edges.
- Evenly pour half of the chocolate fudge sauce over this first layer of sandwiches.
Phase 2: Whipping the Cloud
- In a medium bowl, beat the softened light cream cheese and Greek yogurt until the mixture is smooth.
- Mix in the vanilla extract and maple syrup.
- Level half of the cream cheese blend over the fudge, spreading it all the way to the sides.
Phase 3: The Final Layer & Set
- Lay the other 6 ice cream sandwiches across the cream layer.
- Spread the rest of the cream cheese mixture over the second layer of sandwiches.
- Combine dark chocolate chips and coconut oil in the microwave, heating in 20-second intervals until the mixture is glossy. Drizzle this over the surface.
- Freeze for 3 hours until the cake feels firm to the touch.
Fixing Common Problems
When working with frozen desserts, temperature swings are the enemy. If your kitchen is too warm, the sandwiches will soften before you can spread the cream.
For a Soft Center
If the middle feels mushy, the core hasn't reached the target temperature. Return it to the freezer for 60 minutes. Ensure your freezer is set to 0°F (-18°C).
To Prevent Cracking
When lifting the cake, the wafers can crack if the glaze is too hard. Let the cake sit at room temperature for 5 minutes before slicing.
Fixing Grainy Cream
If the filling feels gritty, the cream cheese wasn't soft enough. Beat the mixture for another 2 minutes on high speed.
| Problem | Fix |
|---|---|
| Mushy center | Freeze 60 mins longer |
| Cracking wafers | Temper at room temp for 5 mins |
| Grainy filling | Beat on high speed |
Pairing This Dessert
This Double Chocolate Ice Cream Sandwich Cake is incredibly rich. To brighten the flavor profile, serve it with a handful of raspberries or sliced strawberries. The tartness of the berries provides a perfect balance to the dense fudge. For a more diverse dessert platter, pair a slice with this Cream Cake for 12 recipe to combine salty and sweet flavors.
Finishing Touches
To elevate the presentation, sprinkle some shaved dark chocolate over the top right before serving. Adding a pinch of flaky sea salt to the glaze also helps enhance the deep cocoa notes.
Freezing and Reheating Guide
This is a frozen only dessert. Do not store it in the fridge, or the structure will collapse into a puddle.
Store the cake in the freezer for up to 7 days. Wrap it tightly in plastic wrap to prevent freezer burn. If you're making a larger batch, you can follow the storage logic of an Oreo Ice Cream Sandwich Cake to keep the layers fresh.
Zero Waste Tip: If you have leftover fudge sauce or Greek yogurt cream, don't toss it. The cream can be swirled into your morning oatmeal, and the fudge is a great topper for sliced bananas.
Variations & Substitutions
Adjusting the proportions can change the outcome. If you're looking for a different taste, try these variations.
For a Nutty Twist: Mix 2 tablespoons of almond butter into the cream cheese. This adds a rich, savory depth that complements the dark chocolate perfectly.
For a Low Sugar Alternative: Swap the maple syrup for monk fruit syrup. Keep in mind that this can slightly alter the freezing point, making the cream layer a bit firmer.
Method Comparison: Although this recipe requires no baking, you can choose different ways to prepare the glaze for different results.
| Method | Texture | Stability |
|---|---|---|
| Microwave | Glossy/Smooth | Sets fast |
| Stovetop (Double Boiler) | Richer/Denser | More controlled melt |
Now you have the guide for a sturdy Double Chocolate Ice Cream Sandwich Cake. Take my advice: do not forget the parchment paper overhang. It is the secret to getting a clean slice rather than a chocolate collapse. Let's dive in.
Recipe FAQs
How do I assemble the layers?
Line an 8x8 inch pan with parchment paper. Arrange six ice cream sandwiches at the bottom, drizzle with half the fudge sauce, and spread half the cream cheese mixture before repeating the process for the second layer.
What is the secret to a glossy topping?
Melt dark chocolate chips with coconut oil in the microwave. Use 20-second bursts and stir between intervals until the mixture is smooth and glossy before drizzling.
Is it true that this cake needs to be baked in the oven?
Actually, that's incorrect. This treat doesn't require baking, as it simply needs 3 hours in the freezer to firm up.
How long must it stay in the freezer?
Freeze for at least 3 hours. The cake is ready once it feels firm to the touch, ensuring the layers don't slide when you slice it.
Can I make a larger version for a party?
Yes, use a larger pan and scale up the ingredients. For a version already optimized for a crowd, try the hot fudge cake which serves 16 people.
Double Chocolate Ice Cream Sandwich Cake