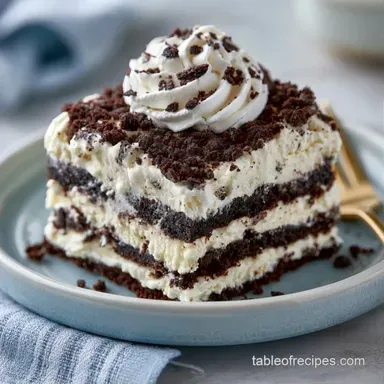
Four Ingredient Ice Cream Cake: Cookies and Cream
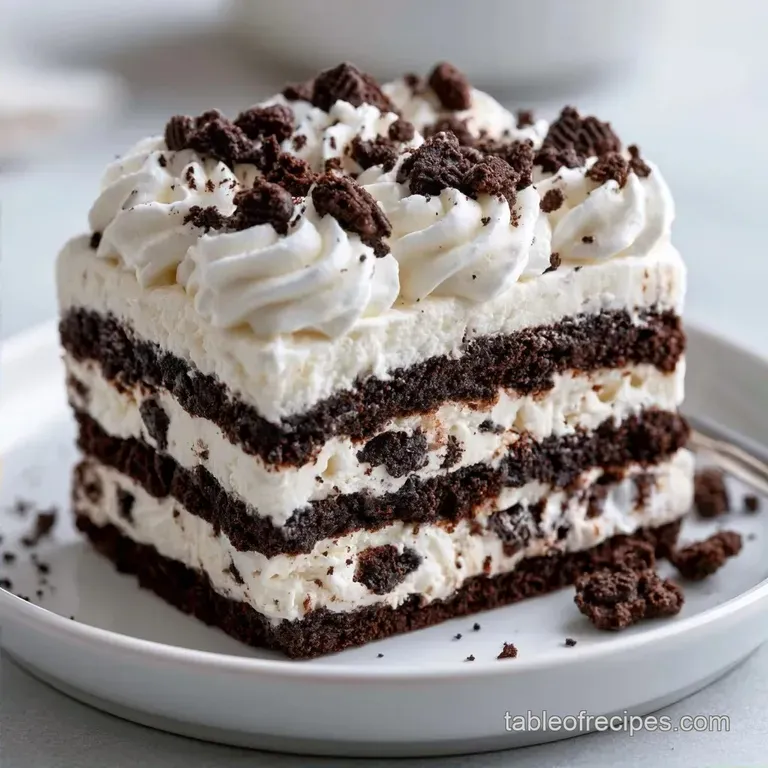
- Time:15 minutes active + 3 hours chilling
- Flavor/Texture Hook: Silky cream layers with a crunch of chocolate cookies
- Perfect for: Beginner friendly party desserts
Four Ingredient Ice Cream Cake Basics
The scent of chilled cream and cocoa wafts out the moment you open the freezer. Years ago, I tried building a frozen cake with just scoops of ice cream, only for it to dissolve into a puddle ten minutes after serving. It was a total mess.
The cookies and cream ice cream is the key. It provides the mass and the taste, but more importantly, it acts as the binder for the whole project. If you swap it for a thinner, fruit based sorbet, the cake loses its structural strength and slides apart.
You can expect a rich, layered dessert that looks much more difficult to create than it actually is. By using pre-made staples to do the heavy lifting, this four ingredient ice cream cake lets you concentrate on the assembly.
Why the Layers Stay Stable
- Frozen Scaffolding: The ice cream sandwiches act as rigid plates. They prevent the softer ice cream from bowing out or collapsing under the weight of the toppings.
- Stabilized Topping: Using a processed whipped topping instead of fresh whipped cream prevents "weeping." According to Serious Eats, stabilized creams hold their air bubbles longer, which keeps the top layer from collapsing into the ice cream.
Recipe Quick Specs
Now for the technical details. Success depends on precise timing and temperature. If you rush the freezing process, you'll be left with a soft center that doesn't slice cleanly.
The key is the ice cream's "spreadability." You want it soft enough to smooth out, but not so melted that it becomes a soup.
Ingredient Roles and Swaps
| Ingredient | What It Does | Best Swap |
|---|---|---|
| Ice Cream Sandwiches (12) | Provides structure | Chocolate wafers with vanilla ice cream |
| Cookies and Cream Ice Cream (1.4L) | Core filling and flavor | Mint chip ice cream (adds a fresh note) |
| Whipped Topping (225g) | Top seal and stability | Coconut whipped cream (adds tropical flavor) |
| Crushed Cookies (240ml) | Final texture contrast | Crushed brownies (makes it denser) |
There's a reason we use these specific items. The fat content in the ice cream sandwiches creates a barrier that stops the cake from tasting like a giant block of ice.
Ingredients and Substitutes
- 12 standard size ice cream sandwiches Why this? Creates the structural "shelves" of the cake.
- Swap: Homemade ice cream sandwiches.
- 1.5 quarts cookies and cream ice cream Why this? High fat content ensures a smooth melt.
- Swap: Vanilla bean ice cream.
- 8 oz whipped topping, thawed Why this? Stays firm during freezing.
- Swap: Heavy cream whipped with powdered sugar.
- 1 cup crushed chocolate sandwich cookies Why this? Adds necessary grit and crunch.
- Swap: Toasted walnuts.
Tools for the Job
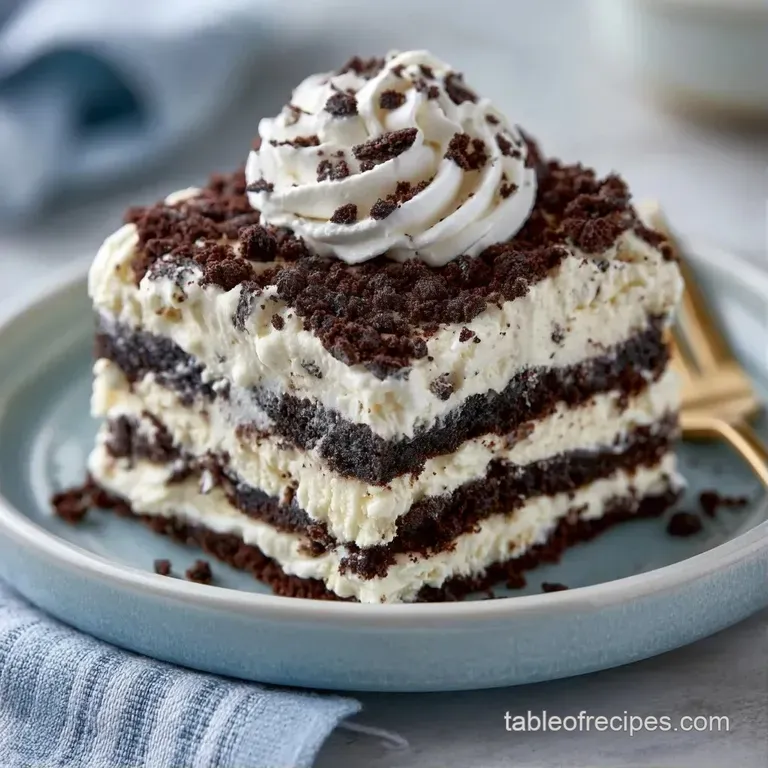
While you don't need fancy equipment, a few specific tools simplify the process. I use a 23x23 cm (9x9 inch) baking pan.
An offset spatula is especially useful for pressing the ice cream into the corners without shifting the sandwiches. You'll also need parchment paper for the "sling" method.
Putting it All Together
Phase 1: The Foundation
- Line a 23x23 cm (9x9 inch) baking pan with parchment paper, letting the sides extend past the rim. Note: This allows you to lift the cake out without breaking it.
- Fit 6 ice cream sandwiches into the base of the pan. Press them together until there are no gaps. This forms the base of your Four Ingredient Ice Cream Cake.
Phase 2: The Creamy Core
- Allow the ice cream to soften at room temperature for 5-10 minutes. Ensure it is spreadable yet still retains its form.
- Apply half of the ice cream in a uniform layer across the first set of sandwiches. Use a spatula to smooth the sides.
- Layer the other 6 ice cream sandwiches on top. Press down gently to ensure the surface is level.
- Cover the second layer of sandwiches with the rest of the ice cream until the surface is flat.
Phase 3: The Finishing Flourish
- Distribute the thawed whipped topping over the top. Spread it evenly to the pan's edges.
- Scatter the crushed chocolate sandwich cookies over the topping, pressing them in slightly.
- Freeze for no less than 3 hours. Verify that the middle is solid before taking it out.
Fixing Common Cake Issues
Stopping the Melt
If your kitchen is hot, the sandwiches will soften before you finish the top layer. I've found that chilling the empty pan in the freezer for 10 minutes helps. This keeps the base frozen while you work on the middle.
Getting Clean Slices
Tearing and jagged edges usually happen because the knife is too warm. Dip your knife in hot water for 30 seconds, wipe it dry, and then slice. Repeat this between every single cut to get those sharp, restaurant style edges.
Fixing Air Gaps
If the sandwiches don't fit perfectly, don't force them. Just break a small piece off a cookie to plug the hole. This prevents the filling from leaking out the sides during the freezing process.
Ways to Serve It
I like to serve this on a chilled plate to stop the bottom from melting too fast. A few fresh raspberries on the side add a sharp acidity that cuts through the heavy cream.
If you want to go all out, drizzle a bit of warm chocolate ganache over the slices. The contrast between the hot chocolate and the frozen cake is brilliant.
Storing and Freezing Tips
Keep any remaining portions in the pan, sealed tightly with plastic wrap. The cake stays fresh in the freezer for up to 2 months. Avoid refrigerating it, as it will lose its structure and become a soft mousse.
To prevent waste, stir leftover crushed cookies into your morning yogurt or sprinkle them over a milkshake.
Quick Flavor Changes
You can easily swap the flavors to match the season. For a different twist, try an Oreo No Bake Ice Cream Cake for a more cookie heavy profile.
If you want something more decadent, check out an Sandwich Cake with Fudge recipe which adds a rich chocolate layer. For a fruity version, use strawberry ice cream and replace the chocolate cookies with crushed graham crackers.
Scaling the Recipe
If you're using a smaller 6 inch round pan, reduce all ingredients by half. You'll likely need to adjust the number of sandwiches to fit the circle, and the freezing time might drop by about 30 minutes.
For a larger party tray, double the ingredients but keep the ice cream layers the same thickness to avoid a "sinkhole" in the middle.
Method Comparison
| Feature | No Bake Method | Baked Cake Base |
|---|---|---|
| Prep Time | 15 minutes | 60 minutes |
| Texture | Creamy and dense | Spongy and frozen |
| Equipment | Pan and parchment | Oven and cake pans |
Debunking Freezer Myths
Some people think you need to "temper" the cake by leaving it out for an hour before slicing. That's not true for this recipe. Because of the ice cream sandwich layers, it's stable enough to slice straight from the freezer.
Another myth is that you can't use homemade whipped cream. You can, but you must add a stabilizer like gelatin or cornstarch, otherwise, the topping will collapse into a liquid pool.
Goal Adjustment Shortcut
| Goal | What to change |
|---|---|
| More Crunch | Double the crushed cookies |
| Lighter Taste | Use vanilla bean ice cream |
| Faster Set | Use a smaller, deeper pan |
Recipe FAQs
How to assemble this ice cream cake?
Line a 9x9 inch pan with parchment paper and layer ice cream sandwiches with cookies and cream ice cream. Finish the top with thawed whipped topping and crushed chocolate sandwich cookies.
What is the minimum freezing time?
Freeze the cake for at least 3 hours before serving. Overnight freezing is recommended for the firmest set and cleanest slices.
Which cookies should be used for the topping?
Use crushed chocolate sandwich cookies to maintain the cookies and cream profile. These add a necessary crunch to contrast the creamy layers.
Can I store the cake in the fridge?
No, and here's why. Refrigeration causes the frozen structure to collapse, turning the cake into a soft mousse.
Is it true that the base must be baked?
No, this is a common misconception. This recipe uses a no-bake method that relies on pre-made ice cream sandwiches for the base.
Why include a parchment sling?
Leave an overhang on the sides of the pan to lift the frozen cake out without damaging the layers. This prevents the dessert from sticking to the bottom of the pan.
Could I try different flavor combinations?
Swap the cookies and cream ice cream for other flavors to customize the taste. If you enjoyed this assembly method, you can use a similar technique for a peanut butter cup version.
Does the ice cream require tempering before spreading?
That's a myth. Just let the ice cream sit at room temperature for 5-10 minutes until it is spreadable but still holds its shape.
Four Ingredient Ice Cream Cake