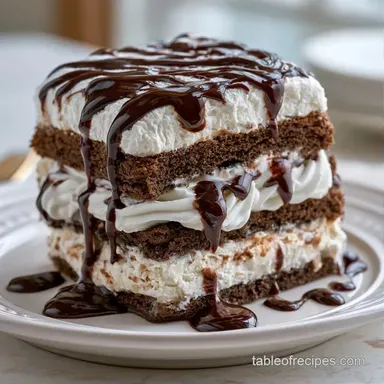
Make Ahead Ice Cream Sandwich Cake in 15 Minutes
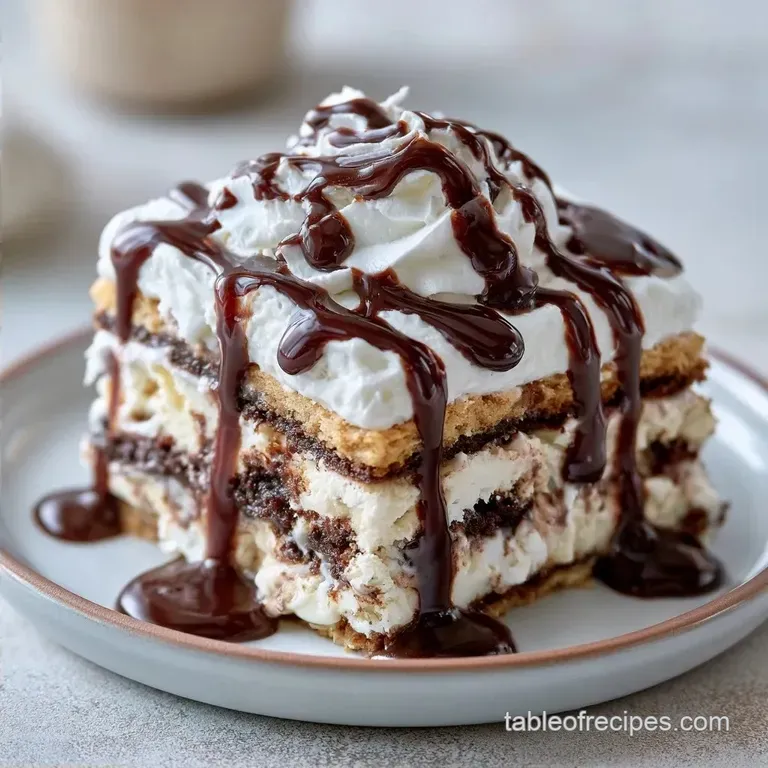
- Time:15 minutes active + 6 hours 15 mins chilling
- Flavor/Texture Hook: Dense, fudgy layers with a smooth cream finish
- Perfect for: Party crowds and pre planned dessert menus
The most annoying thing about these cakes is the "slide." You go to slice into a beautiful layered dessert and the whole thing shifts, leaving you with a collapsed pile of cream and cookies. It usually happens because the layers aren't bonded or the base is too uneven to support the weight.
This recipe fixes that by using a parchment sling and a specific layering order that prevents the shift. You get clean, sharp edges and a dessert that actually holds its shape on the plate.
We're skipping the guesswork here. By focusing on the density of the base and the stability of the topping, this make ahead Ice Cream Sandwich Cake becomes a reliable addition to your freezer stash.
Why These Layers Actually Stay
The Fat Bond: The high fat content in the stabilized whipped topping acts as a glue, fusing with the surface of the frozen sandwiches during the 6 hour set.
Base Density: Breaking the sandwiches to fill every gap removes air pockets, which prevents the cake from sagging in the middle.
| Method | Time | Texture | Best For |
|---|---|---|---|
| No Bake (This) | 15 min active | Dense and creamy | Stress free hosting |
| Baked Cake | 1 hr active | Spongy and light | Traditional birthdays |
Right then, let's look at what we're working with to get this right.
Recipe Specs
This dessert serves 12 people and requires zero actual cooking, but it demands a specific amount of patience in the freezer. I've found that if you try to cut this at the 3 hour mark, the fudge is still too fluid and the layers will smear.
Stick to the 6 hours 15 mins total time for the best results.
Since we're using a standard 8x8 inch pan, the geometry is pretty fixed. If you use a larger pan, you'll need to scale the ingredients or you'll end up with a very thin, disappointing slab.
Ingredient Deep Dive
| Ingredient | What It Does | Best Swap |
|---|---|---|
| Ice Cream Sandwiches | Provides structural base | Frozen cookie sandwiches |
| Stabilized Whipped Topping | Binds the layers | Heavy cream whipped with gelatin |
| Heavy Whipping Cream | Adds richness and volume | Full fat coconut cream |
| Hot Fudge Sauce | Adds moisture and flavor | Ganache (dark chocolate) |
The full list of essentials:
- 24 store-bought ice cream sandwiches (Standard size)
- 1 tbsp (15ml) melted coconut oilWhy this? Prevents sticking without adding a strong flavor
- 16 oz (450g) stabilized whipped topping
- 1 cup (240ml) heavy whipping cream, chilledWhy this? High fat ensures a stable peak
- 1/2 cup (120ml) hot fudge sauce, warmed
- 1/2 cup (120ml) salted caramel sauce, warmed
- 1 cup (100g) crushed Oreo cookiesWhy this? Provides a necessary textural contrast
Substitution Notes: - Coconut oil: Can use melted butter, but coconut oil has a higher saturation point when frozen. - Oreo crumbs: Any chocolate wafer cookie works, but the cream filling in Oreos adds a nice touch.
Tools for Precise Assembly
While you don't need professional equipment, a few specific tools will make the assembly process much tidier. An offset spatula is essential; using a standard spoon typically just pushes the whipped topping around, leading to uneven layers.
I also suggest using a sharp chef's knife. Serrated blades often tear the ice cream sandwiches rather than slicing them cleanly. For the cleanest cuts, dip the blade in hot water between every slice to melt through the frozen fat.
Building the Layers
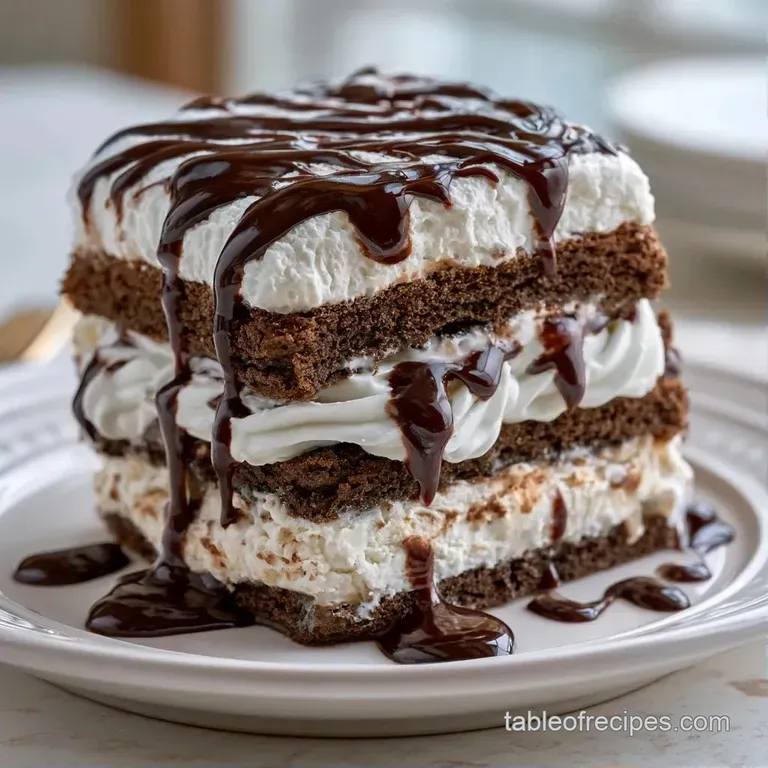
Phase 1: Prepping the Pan
Fit an 8x8 inch square pan with parchment paper, leaving extra length on the sides to serve as a handle. Lightly coat the paper with melted coconut oil. Note: This prevents the bottom layer from cracking during release.
Phase 2: Building the Base
Arrange a single layer of ice cream sandwiches at the bottom. Fill any gaps with smaller broken pieces. Press down gently to ensure the base is dense and level.
Phase 3: Adding Texture and Cream
Use an offset spatula to spread half of the stabilized whipped topping over the sandwiches. Drizzle half of the warmed salted caramel and hot fudge over the cream. Sprinkle with half of the crushed Oreos. Note: Ensure the sauce is warm, not boiling, so the ice cream doesn't melt.
Phase 4: The Final Layer and Set
Repeat these steps for the final layer: add more ice cream sandwiches, followed by the rest of the whipped topping, sauces, and Oreo crumbs. Freeze for 6 hours until the sides are firm and the top has set.
Phase 5: Slicing and Serving
Lift the cake from the pan using the parchment edges. For clean slices, dip a sharp chef's knife in hot water, wipe it dry, and cut into 12 servings.
Chef's Note: If opting for homemade whipped cream over a stabilized version, check out Serious Eats for tips on stabilizer powders to prevent moisture from leaking during thawing.
Fixing Texture and Slicing
Dealing with an uneven base
Gaps between your sandwiches allow the whipped topping to drip down, resulting in unsightly "sinkholes" once you slice the cake. Think of the sandwiches as puzzle pieces and use small scraps to fill any voids.
Preventing sliding layers
This typically occurs if the fudge is added while too hot, melting the ice cream surface and creating a slick layer. Ensure your sauces remain warmly pourable rather than simmering.
Difficulty slicing
If the cake feels too frozen to cut, allow it to temper for 5 to 10 minutes. This gently softens the exterior, letting the blade slide through without breaking the cookies.
| Problem | Fix |
|---|---|
| Gaps in base | Fill with broken sandwich pieces |
| Slid layers | Keep sauces warm, not boiling |
| Jagged cuts | Rinse knife in hot water between cuts |
Best Pairing Suggestions
To balance the decadence of this dessert, a touch of brightness helps. Fresh raspberries or sliced strawberries offer a tart contrast that offsets the dense fudge and caramel.
When sharing this with guests, consider pairing it with a bitter espresso or a bold cold brew. The coffee's bitterness complements the sugary Oreo crumbs perfectly. If you're looking for another frozen option, check out my Sandwich Cake for 9 recipe for a different way to assemble your treat.
Storage and Freezer Tips
Freezer Storage: Keep the cake in the pan or wrapped tightly in plastic wrap in the freezer for up to 2 months. If you wrap it, make sure the plastic is touching the surface of the cream to prevent freezer burn.
Zero Waste Tips: If you have leftover crushed Oreos or a bit of fudge sauce, don't toss them. Mix the remaining sauce with a splash of milk to make a drizzle for pancakes the next morning. Any leftover whipped topping can be folded into a fruit salad for a quick dessert.
Adaptations and Flavor Twists
Depending on what you have in the pantry, you can easily tweak this Homemade Ice Cream Sandwich Cake. For a more intense chocolate experience, try my Cake in 10 Minutes recipe which uses a different base.
Decision Shortcut:
- For a firmer set: freeze for 8 hours instead of 6.
- For a softer bite: let sit at room temp 10 mins before slicing.
- For a richer flavor: use a dark chocolate fudge sauce.
Flavor Ideas:
- Peanut Butter Twist: Swap the salted caramel for melted peanut butter and use peanut butter ice cream sandwiches.
- Minty Fresh: Use mint chocolate chip sandwiches and swap the Oreo crumbs for crushed Andes mints.
- Lighter Option: Use a Greek yogurt based whipped topping, though this will reduce the freezing time slightly as it has less fat.
For those who prefer a different format, you can also explore the easy ice cream sandwich cake which focuses on a simpler layering technique. Regardless of the variation, the 4 ingredient ice cream sandwich cake logic remains the same: base, binder, flavor, and freeze.
Recipe FAQs
How many ice cream sandwiches are needed?
Use 24 standard sized ice cream sandwiches.
Tip: break a few into smaller pieces to fill gaps for a denser base.
Create an Oreo ice cream cake how?
Layer ice cream sandwiches, stabilized whipped topping, fudge, caramel, and crushed Oreos in an 8x8 pan.
Tip: repeat the layering process twice to ensure consistent flavor in every slice.
Is it true you must bake the layers?
That's a myth. This dessert is entirely no-bake and relies on freezing for its structure.
Tip: freeze for at least 6 hours to ensure the layers bond properly.
Which tool is best for slicing?
Use a sharp chef's knife dipped in hot water.
Tip: wipe the blade clean after every slice to maintain clean edges.
Prevent the cake from sticking how?
Line the pan with parchment paper and grease it with melted coconut oil.
Tip: leave an overhang on the sides to use as a sling for easy removal.
Could this assembly work for other desserts?
This layered technique works for various frozen treats, similar to the structure used in our no bake dessert cake.
Tip: keep all components chilled to prevent the cream from melting during assembly.
Ice Cream Sandwich Cake