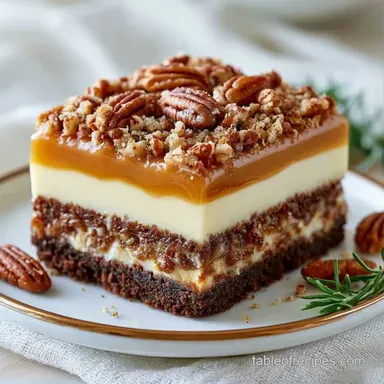
No Bake Salted Caramel & Chocolate Crunch Cake
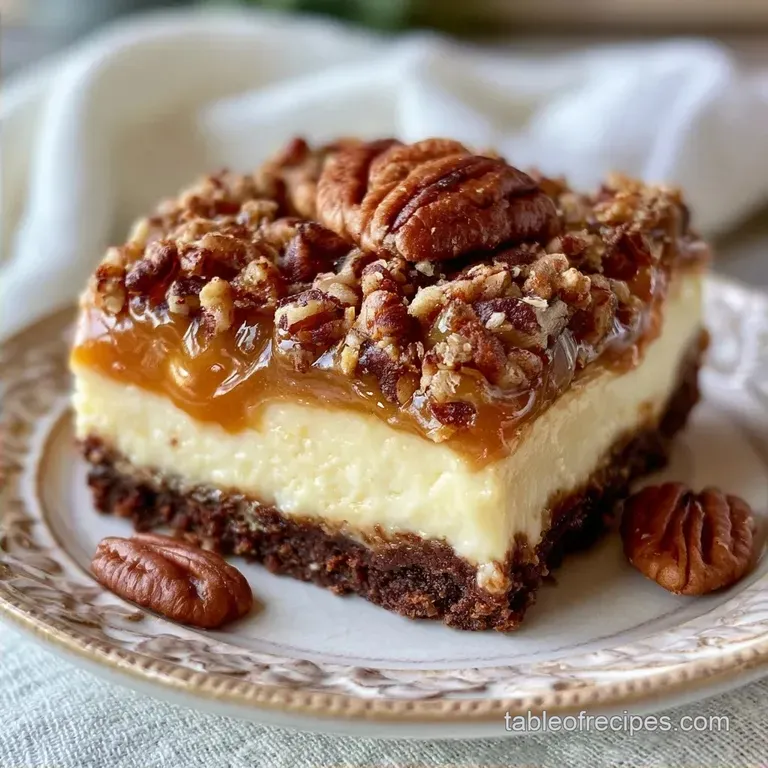
- Preparation: 30 min hands-on + 6 hours freezing
- The Appeal: A crisp chocolate snap paired with luscious salted caramel
- Best for: Warm-weather gatherings or large group potlucks
Everything starts with that satisfying crack of a chocolate wafer. I once attempted a frozen cake by simply stacking ingredients and hoping for a miracle, but it dissolved into a sugary slush before it even reached the guests. It was a spectacular failure, and frankly, quite tasteless.
These days, I view this recipe as an architectural challenge. You can't simply assemble it; you must carefully manage the temperature of each stage to stop the different elements from merging.
Stick to the timing, and your No Bake Ice Cream Dessert will maintain a sharp edge when sliced. That interplay between chilled cream and stretchy, salty caramel creates a professional result worthy of a boutique creamery.
No Bake Ice Cream Dessert
Fat Barrier: Melting butter into the wafers creates a coating that blocks moisture from the ice cream, so the crust doesn't get soggy.
Temperature Control: Flash freezing each layer prevents the vanilla and chocolate from mixing into one giant blur.
| Method | Time | Texture | Best For |
|---|---|---|---|
| Fast Churn | 45 mins | Airy/Soft | Last minute cravings |
| Layered Freeze | 6.5 hours | Dense/Structured | Dinner parties |
- For a firmer set
- freeze the crust for 20 minutes instead of 15.
- For a softer bite
- let the cake sit on the counter for 10 minutes before slicing.
- For more crunch
- toast the pecans at 175°C for 5 minutes.
Essential Tools Needed
2 Essential Tools
A 9 inch springform pan is a must, as flipping a frozen cake is impossible. To make removal effortless, line the bottom with parchment paper.
You will also want an offset spatula. Attempting to level ice cream with a spoon is tedious and typically results in lumpy layers.
Additional Gear
A glass with a flat bottom is perfect for pressing the crust. You will also need a hand mixer for the whipped cream topping.
Ingredient Deep Dive
| Ingredient | Role | If You Don't Have It |
|---|---|---|
| Chocolate Wafers | Structural base | Graham crackers (adds honey notes) |
| Salted Caramel | Flavor core | Dulce de leche (thicker/sweeter) |
| Heavy Cream | Airy topping | Mascarpone whipped with cream |
| Vanilla Ice Cream | Creamy layer | Frozen yogurt (tangier) |
You'll need these specific items for the build. Don't eyeball the butter, or the crust will crumble.
- 180g crushed chocolate wafers Why this? Provides a dark, cocoa rich base.
- 70g melted unsalted butter Why this? Binds crumbs and blocks moisture.
- 1g sea salt Why this? Cuts through the heavy sugar.
- 340g salted caramel sauce, chilled Why this? Adds a silky, chewy center.
- 60g toasted pecans, finely chopped Why this? Adds earthy crunch.
- 946ml vanilla bean ice cream, slightly softened Why this? Classic base layer.
- 946ml chocolate ice cream, slightly softened Why this? Deep cocoa contrast.
- 240ml heavy whipping cream, cold Why this? Lighter finish than more ice cream.
- 25g powdered sugar Why this? Stabilizes the whipped cream.
- 30g mini chocolate chips Why this? Visual and textural pop.
Precise Recipe Specs
This recipe is built on precision. If the ice cream is too melted, it runs. If it's too hard, you get air pockets.
- Prep time:30 minutes
- Cook time:0 minutes
- Total time:6 hours 30 mins
- Yield: 12 slices
- Precision Checkpoint 1: Crust must freeze for 15 minutes.
- Precision Checkpoint 2: Vanilla layer needs 30 minutes of flash freezing.
- Precision Checkpoint 3: Total set time is 6 hours.
From Prep to Plate
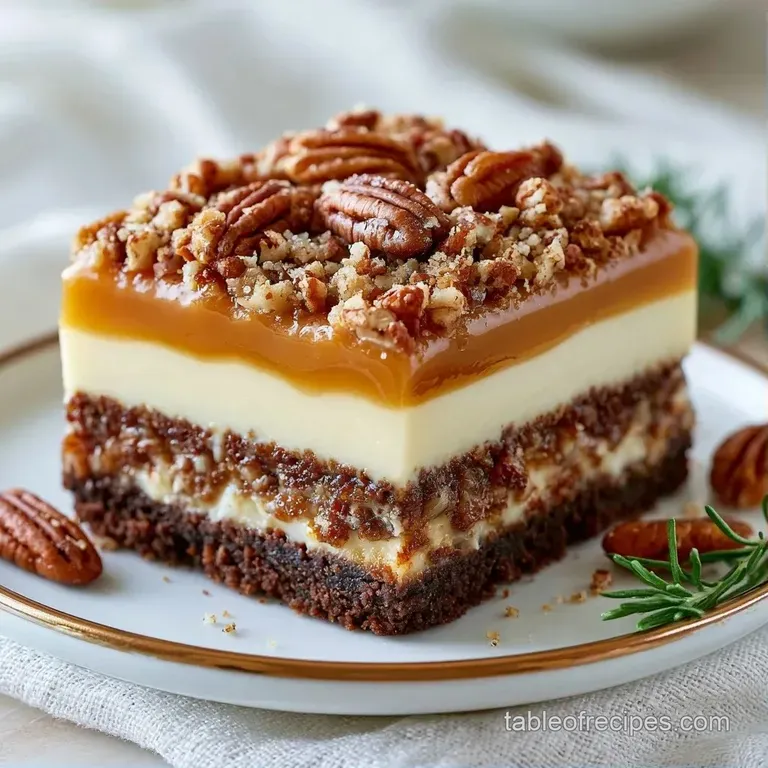
1. Constructing the Foundation
Mix the crushed wafers, melted butter, and salt. Press this mixture firmly into the bottom of your lined 9 inch springform pan. Use a flat glass to pack it tight, which stops the crust from falling apart. Freeze for 15 minutes to set the fats.
2. Layering the Creamy Base
Spread the softened vanilla ice cream over the frozen crust. Use your offset spatula to make it level. Put the pan back in the freezer for 30 minutes. This flash freeze is what keeps your layers clean.
3. Adding the Flavor Core
Pour the chilled salted caramel sauce over the vanilla. Swirl in the chopped pecans. Leave a 0.5 inch border around the edge so the caramel doesn't leak down the sides.
4. Finishing the Build
Spread the softened chocolate ice cream over the caramel layer. Smooth the top with the spatula until it is even.
5. The Final Garnish
Whip the cold heavy cream and powdered sugar until stiff peaks form. Spread this over the chocolate ice cream. Sprinkle the mini chocolate chips on top.
6. The Long Set
Seal the pan tightly with plastic wrap. Freeze for at least 6 hours. This ensures the entire mass is stable enough to slice without melting instantly.
Pro Tips and Pitfalls
Temperature is the primary challenge when preparing a No Bake Ice Cream Dessert. If the ice cream is overly soft, it will blend into the caramel; if it's too frozen, you'll end up with air pockets between layers. Allow it to soften at room temperature for 5 minutes before you start spreading.
You might also encounter the "slide," where layers fail to adhere to one another. To ensure they bond, gently press each layer down using a spatula.
Fixing a Soggy Crust
If the crust lacks a crunch and feels cakey, the initial freeze or the butter was likely omitted. The butter serves as a protective, waterproof barrier.
Handling a Hard Cake
If slicing proves difficult because the dessert is too frozen, warm up your blade. Run your knife under hot water and dry it before each cut.
| Problem | Root Cause | Solution |
|---|---|---|
| Layers bleeding | Ice cream too soft | Flash freeze for 30 mins between layers |
| Crust crumbling | Not packed tight enough | Use a flat glass to compress the base |
| Caramel leaking | No border left | Leave 0.5 inch gap at the edges |
Preservation Guidelines
Store this cake in the freezer, where it will stay fresh for about 2 weeks, although the whipped cream may lose some volume over time. I recommend wrapping it in plastic to prevent freezer burn from drying out the edges.
If you are preparing a no bake dessert cake, remember that frozen desserts require a gradual thaw. Set the cake out 10 minutes before serving so the textures soften into a creamy consistency.
To reduce waste, stir any leftover crushed wafers into your morning yogurt or sprinkle them over a smoothie bowl.
Flavor Twists to Try
You can easily swap the flavors here to make a Quick No Bake Ice Cream Dessert for different seasons. For a summer vibe, use strawberry ice cream and a lemon curd swirl instead of caramel.
If you want something more like a no bake ice cream cake, try replacing the chocolate wafers with crushed Oreos.
2 Diet Swaps
For a gluten-free version, use certified GF chocolate wafers or almond meal mixed with cocoa powder and maple syrup for the crust. For a dairy-free version, swap the heavy cream for chilled coconut cream and use cashew based ice creams.
| Component | Classic | Twist | Impact |
|---|---|---|---|
| Base | Chocolate Wafers | Biscoff Cookies | More cinnamon flavor |
| Core | Salted Caramel | Raspberry Jam | Tart and fruity |
| Top | Whipped Cream | Toasted Meringue | Extra sweetness |
Ideal Complements
Because this No Bake Ice Cream Dessert is so decadent, it is best paired with flavors that offset the sugar and fat.
The Fresh Balance
Pair a slice with tart berries or crisp green apple slices. These acidic notes help cleanse your palate between mouthfuls of heavy chocolate and caramel.
The Beverage Pair
A bold, unsweetened espresso or a dark roast coffee is the ideal match. The bitterness of the brew balances the sweetness of the vanilla and chocolate layers. For a cold alternative, sparkling water with a twist of lime provides a refreshing contrast.
Recipe FAQs
How to assemble the ice cream layers?
Spread the softened vanilla ice cream over the chilled crust and flash freeze for 30 minutes. Pour on the salted caramel and pecans before topping with the chocolate ice cream layer.
Is it true that you can layer all components at once without freezing in between?
False. Staggered freezing prevents the flavors from bleeding together and keeps the layers distinct.
Why is my crust too soft?
Press the chocolate wafer and butter mixture more firmly into the pan using a flat glass. This ensures the fats set properly during the initial freeze.
Can I serve this with other treats?
This dessert pairs well with a light fruit platter to balance the richness. If you enjoyed the simple assembly here, see how a similar approach works in this four ingredient version.
No Bake Ice Cream Dessert