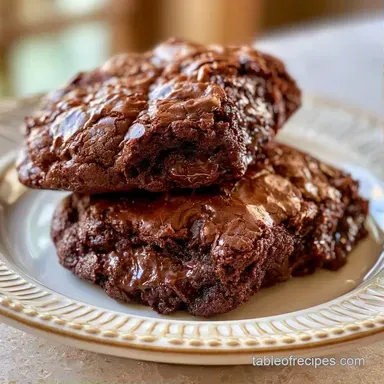
Fudgy Dutch Process Cocoa Brookies
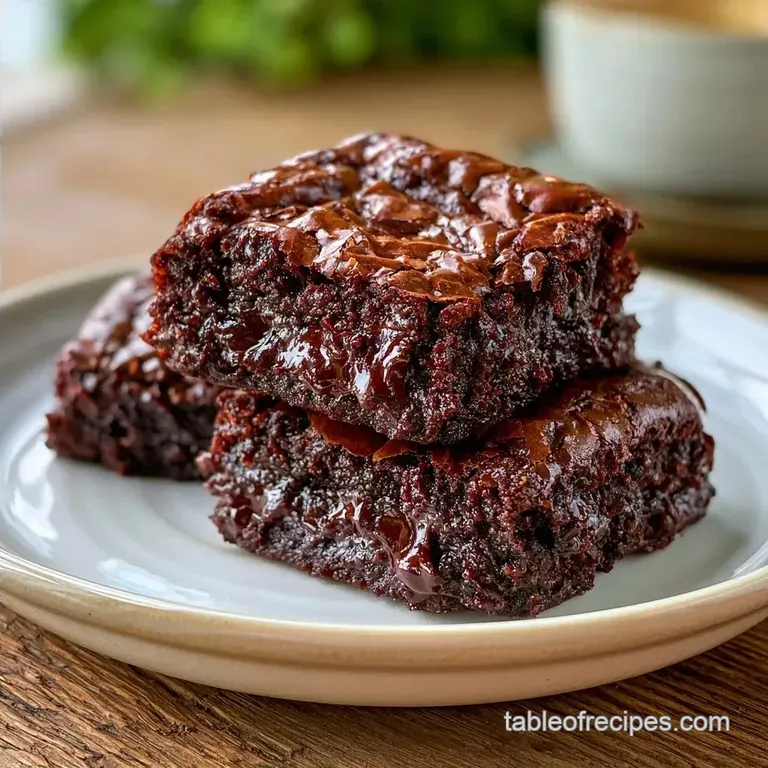
- Time: 20 min active + 35 min bake
- Flavor/Texture Hook: Fudgy mahogany base with golden, shattering edges
- Perfect for: High reward baking for chocolate enthusiasts
The scent of roasting cocoa and browned butter hits the air the second these hit the oven. There is something about the contrast between a dark, dense brownie and a salty sweet cookie that just works. You get that deep, bitter cocoa hit followed by the buttery chew of a classic chocolate chip cookie.
I used to struggle with the structural integrity of hybrid bars. My early attempts often resulted in a muddy mess where the layers merged into one indistinct cake. The solution came down to understanding the specific gravity of the batters and the timing of the bake.
You can expect 24 bars that hold their shape and offer a clear distinction between the two textures. These Cocoa Brookies rely on exact measurements to ensure the brownie layer stays fudgy while the cookie layer reaches a precise level of caramelization.
Precision Tips for Cocoa Brookies
The success of this recipe depends on the chemistry of the ingredients. When you balance the acidity and the fat content, you get a stable structure that supports the weight of the cookie dough.
Alkalized Cocoa: Dutch process cocoa lowers the acidity of the chocolate, which prevents the brownie from rising too much. This creates a denser base that acts as a platform for the cookie layer.
Fat Temperature: Using melted butter in the brownie and softened butter in the cookie creates two different crumb structures. The melted fat leads to a fudgy consistency, while the creamed fat incorporates air for a chewy cookie.
Sugar Ratios: The combination of granulated and brown sugar in the top layer controls the spread. Brown sugar adds moisture and a hint of molasses, which keeps the cookie from becoming too brittle.
If you enjoy this type of precision, you might like my brown butter brookies which uses a different fat browning technique to deepen the flavor.
| Method | Time | Texture | Best For |
|---|---|---|---|
| Fresh Scratch | 55 mins | Fudgy & Chewy | Maximum flavor control |
| Pre made Mix | 30 mins | Cakey & Soft | Extreme time constraints |
| Frozen Dough | 45 mins | Dense & Uniform | Quick hosting |
Recipe Specs
Precision is the only way to remove guesswork from the kitchen. For these Cocoa Brookies, follow these numeric checkpoints to ensure consistency.
First, ensure your oven is calibrated to exactly 350°F (175°C). A variance of even 10 degrees can lead to overbaked edges or an unset center. Second, the bake time is strictly 35 minutes. Pulling them out early results in a gooey center that won't set during cooling.
Finally, the yield is exactly 24 bars when using a 9x9 inch pan.
- For a firmer set
- chill the cookie dough for 30 minutes before scooping.
- For more chew
- increase brown sugar by 20g.
- For deeper color
- add 10g more cocoa powder.
Gathering Your Essentials
The quality of your cocoa determines the final profile of your Cocoa Brookies. I recommend using a high-quality Dutch process powder for that signature dark mahogany hue.
Brownie Layer 115g unsalted butter, melted Why this? Provides the necessary fat for a fudgy crumb 200g granulated sugar Why this? Creates the crackly top crust 2 large eggs Why this? Acts as the primary
Binder 5ml vanilla extract Why this? Enhances the chocolate notes 30g Dutch process cocoa powder Why this? Alkalized for deeper color and smoother taste 65g all purpose flour Why this? Provides minimal structure to keep it
Fudgy 1.5g salt Why this? Balances the sugar
Cookie Layer 115g unsalted butter, softened Why this? Allows for aeration during creaming 100g brown sugar, packed Why this? Adds moisture and chew 50g granulated sugar Why this? Aids in crisping the edges 1
Large egg Why this? Emulsifies the fats and sugars 5ml vanilla extract Why this? Classic aromatic balance 170g all purpose flour Why this? Standard protein for cookie structure 3g baking soda Why
This? Reacts with brown sugar for lift 3g salt Why this? Sharpens the chocolate flavor 170g semi sweet chocolate chips Why this? Adds pockets of melted chocolate
Necessary Kitchen Tools
While a professional laboratory isn't required, specific equipment ensures your ratios are precise. I always rely on a digital scale for these Cocoa Brookies, since volume measurements for cocoa and flour can fluctuate by as much as 20%.
A 9x9 inch baking pan is required to get the thickness right. If the pan is larger, the layers will be too thin and likely overcook before the center is set. Parchment paper is also a must, as it helps you remove the slab from the pan without the bars breaking during slicing.
For the final folding, a silicone spatula works better than a whisk. Over-mixing the flour develops excess gluten, which transforms a fudgy brownie into a cake. To cream the sugars and cookie butter, using an electric mixer is highly recommended.
The Assembly Process
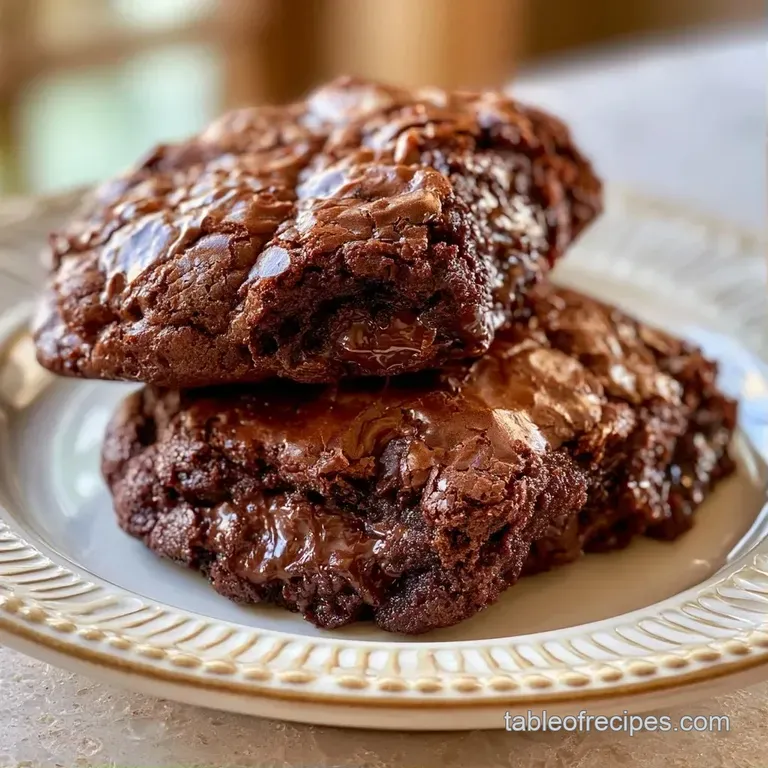
To ensure the structural integrity of your Cocoa Brookies, follow these steps. Careful mixing keeps the layers from merging into one.
- Preheat oven to 350°F (175°C). Line a 9x9 inch baking pan with parchment paper, making sure it extends past the edges.
- Whisk together the granulated sugar and melted butter.
- Beat in the vanilla extract and eggs until the batter is smooth and glossy.
- Sift in the Dutch process cocoa powder, salt, and flour, then fold in gently using a spatula. Note: Sifting prevents cocoa clumps to ensure a uniform texture
- Distribute the brownie batter evenly in the prepared pan.
- Cream the softened butter with the granulated and brown sugars until the mixture is light and fluffy.
- Beat in the egg and vanilla extract until fully incorporated.
- In a separate bowl, whisk the flour, salt, and baking soda together.
- Slowly mix the dry ingredients into the wet ingredients on low speed.
- Use a spatula to fold in the semi sweet chocolate chips.
- Scoop large tablespoons of cookie dough and press them onto the brownie layer using the blob and press method.
- Bake for 35 minutes until the cookie layer is golden and the center is set.
Solving Common Baking Issues
Even with precision, variables like humidity or egg size can affect your Cocoa Brookies. Most issues are easily corrected by adjusting your technique.
Preventing Layer Sinking
When cookie dough disappears into the brownie base, it usually means the brownie batter was too thin. This happens if the melted butter was boiling hot when added to the eggs, breaking the emulsion. Ensure your butter is melted but cooled slightly.
Plus, using the "blob and press" method rather than spreading the cookie dough as a flat layer helps the dough stay on top.
Fixing Overbaked Edges
If the edges of your Cocoa Brookies are hard while the center is raw, your oven may have hot spots. Rotating the pan 180 degrees halfway through the bake usually solves this. You can also use baking strips around the outside of the pan to ensure an even rise across the entire surface.
Avoiding Cakey Texture
A cakey brownie is the result of too much air or too much flour. If you whisk the flour in too vigorously, you develop gluten. Switch to a spatula and fold the ingredients until the streaks of flour just disappear.
According to Serious Eats, overmixing the batter introduces air pockets that change the density from fudgy to spongy.
Handling Grainy Batter
If the cookie layer feels grainy, the butter and sugar weren't creamed long enough. This happens when the sugar crystals don't fully dissolve into the fat. Beat the softened butter and sugars for at least 3 minutes until the mixture looks pale and fluffy before adding the egg.
Serving and Pairing Ideas
Since these Cocoa Brookies are so indulgent, an acidic or bitter accompaniment works well to refresh the taste buds. While chilled whole milk is the classic pairing, a tangy raspberry coulis offers a bright counterpoint to the intense cocoa.
To elevate the presentation, try warming each piece slightly before serving. This ensures the chocolate chips are gooey and the brownie base stays velvety. Adding a touch of unsweetened whipped cream or a pinch of flaky sea salt helps bring out the cookie's buttery flavor.
When serving a crowd, slice the bars into petite 1.5 inch squares, as their density makes smaller bites easier to enjoy. For a striking display, arrange them in a pyramid on a platter and finish with a light dusting of powdered sugar.
Keeping Them Fresh
To keep your Cocoa Brookies from becoming too dry or overly soft, proper storage is key. Their high fat content ensures they stay delicious if stored correctly.
Place the bars in an airtight container on your counter for 3 days. For a longer shelf life, the refrigerator is ideal; keep them in a sealed box for up to 7 days. To bring back that fresh-baked texture, pop a single bar in the microwave for 10-15 seconds.
These treats also freeze exceptionally well. Wrap each square in parchment paper and keep them in a freezer-friendly bag for 3 months. You can thaw them in the refrigerator overnight or quickly heat them in the microwave for 20 seconds.
To minimize waste, use any broken bits as a topping for vanilla bean ice cream or mix them into warm chocolate ganache for a rich cake frosting.
Twists on the Original
Once you have the base recipe down, you can experiment with the flavor profile. The key is to maintain the weight ratios so the layers don't collapse.
If you want a different flavor profile, try my salted caramel brookies which introduces a gooey center. For a more nutty version, swap the semi sweet chips for toasted pecans. The fat from the nuts complements the Dutch process cocoa well.
You can also adjust the cocoa type. Using a natural cocoa powder instead of Dutch process will make the brownie more acidic and slightly lighter in color. However, if you make this swap, you must add an extra pinch of baking soda to the brownie layer to neutralize the acid and maintain the fudgy texture.
| Original Ingredient | Substitute | Why It Works |
|---|---|---|
| Semi sweet Chips | White Chocolate Chips | Adds creaminess. Note: Increases sweetness significantly |
| All purpose Flour | Almond Flour | gluten-free alternative. Note: Results in a denser, moister crumb |
| Unsalted Butter | Coconut Oil | Vegan friendly fat. Note: Adds a slight coconut aroma |
Whether you make the standard Dutch process cocoa brookies recipe or try a variation, precision remains the most important factor. These Process Cocoa Brookies rely on the interaction between the alkalized cocoa and the sugars to create that distinct hybrid experience.
By focusing on the chemistry of the fats and the temperature of the oven, you remove the anxiety from the baking process. The result is a consistent, professional grade treat every time. Enjoy your Cocoa Brookies.
Recipe FAQs
How to prevent these brownies from drying out?
Bake for exactly 35 minutes. Overbaking quickly removes moisture and turns a fudgy center into a dry cake.
Should brownies be runny in the middle?
They should be set but still slightly soft to the touch. The center will firm up as the pan cools to create a fudgy texture.
Is it true you can bake brownies without baking paper?
Not true. The melted butter and cocoa make the batter very sticky, so lining the pan prevents them from tearing.
What are some good desserts to make with brownies?
Serve these with fresh vanilla ice cream. If you enjoy combining frozen and baked treats, try our ice cream sandwich dessert.
Cocoa Brookies for 24 Servings