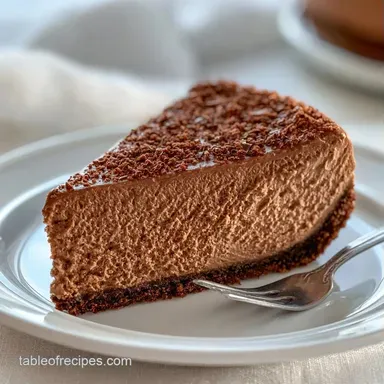
Homemade Chocolate Pudding Ice Cream Cake
- Time: 30 min active + 6 hours chilling
- Flavor/Texture Hook: Rich chocolate cocoa with a frosty, airy finish
- Perfect for: Summer parties, no bake dessert fans, and crowds
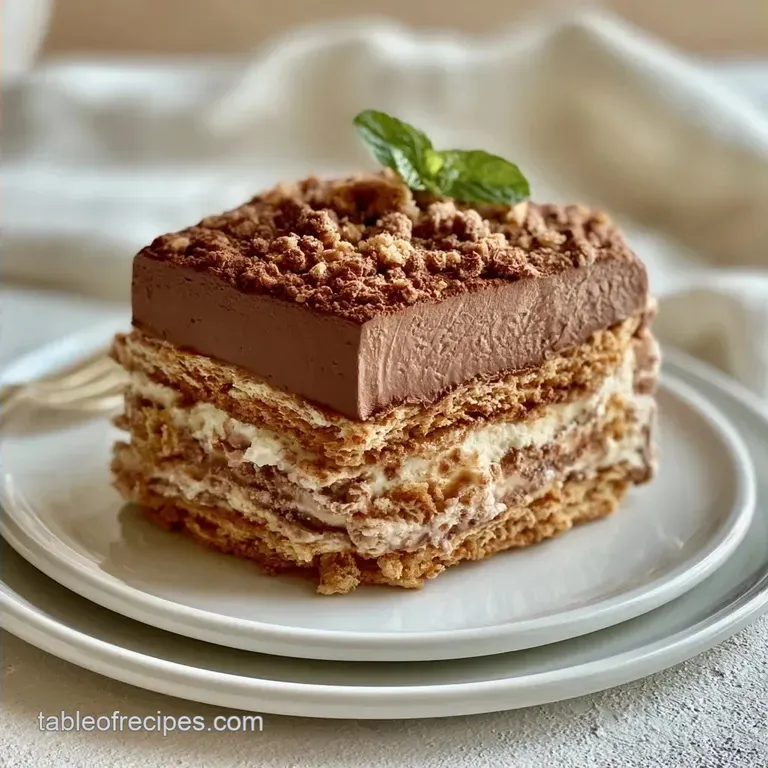
Icebox cakes started as a way to make decadent desserts during humid American summers when turning on an oven was out of the question. These cakes rely on the fridge to set the structure, using layers of cream and cookies that soften over time.
It's a tradition of convenience and coolness that feels like a throwback to old school potlucks.
This version takes that nostalgia and adds a frozen twist. By combining a dense, cooked pudding with a whipped ice cream blend, you get a dessert that stays stable on the table longer than a standard ice cream cake.
You can expect a rich contrast between the crunch of the wafers and the airy top. This Chocolate Pudding Ice Cream Cake doesn't require a mixer for the base or an oven for the filling, making it a straightforward build for any home cook.
Chocolate Pudding Ice Cream Cake
Right then, let's get into how this actually works. The goal here is to stop the ice cream from turning the crust into mush. In many frozen desserts, the moisture from the ice cream migrates downward, but the cooked pudding layer acts as a waterproof barrier.
- Cornstarch
- It creates a sturdy gel that holds the cocoa and milk together, similar to how a Sandwich Cake for 12 recipe relies on stability to keep its shape.
- Whipping Cream
- Folding air into the cream prevents the ice cream from freezing into a solid, un sliceable block.
- Cold Chilling
- Freezing the crust first ensures the butter stays set, which keeps the base from crumbling when you add the wet pudding.
| Component | Fresh Method | Shortcut Method | Result |
|---|---|---|---|
| Pudding | Stovetop cocoa | Instant mix | Fresh is richer and more stable |
| Ice Cream | Folded with cream | Plain store-bought | Folded is airier and easier to scoop |
| Crust | Pressed wafers | Pre made graham | Pressed wafers add deeper chocolate notes |
Core Ingredient Breakdown
Precision in the pudding layer is where this recipe succeeds. If you eyeball the cornstarch, you risk a runny center that slides right off the crust.
| Ingredient | What It Does | Best Swap |
|---|---|---|
| Cornstarch | Thickens the pudding | Arrowroot powder (use slightly more) |
| Whole Milk | Provides the creamy base | Full fat coconut milk (adds nuttiness) |
| Chocolate Wafers | Creates the structure | Crushed Oreos (sweeter, denser) |
| Heavy Cream | Adds air and lift | Mascarpone whipped with a splash of milk |
Required Baking Gear
You don't need a lot of fancy equipment here. A 9 inch springform pan is the most important tool because it lets you pop the sides off without destroying the layers.
I suggest using a silicone spatula for folding the ice cream. It helps you keep those air bubbles intact. A medium saucepan with a heavy bottom is also a must, as milk can burn quickly if the heat is too high. If you have a hand mixer, use it for the cream, but a whisk works if you have the arm strength.
Building the Dessert
Let's crack on with the assembly. Follow these steps exactly to ensure the layers stay distinct.
Phase 1: Building the Foundation
- Line the bottom of a 9 inch springform pan with parchment paper. Note: This prevents the cake from sticking to the metal.
- Combine 1.5 cups chocolate wafer crumbs, 5 tbsp melted unsalted butter, and a pinch of salt in a bowl.
- Stir until the mixture resembles wet sand.
- Press the crumb mixture firmly into the bottom of the pan.
- Freeze for 15 minutes until the base feels solid to the touch.
Phase 2: Creating the Velvety Core
- Whisk 0.5 cup granulated sugar, 3 tbsp cocoa powder, and 2 tbsp cornstarch in a saucepan to remove lumps.
- Slowly whisk in 2 cups whole milk over medium heat.
- Stir constantly until the mixture bubbles and thickens into a glossy cream.
- Remove from heat and stir in 1 tsp vanilla extract and 2 tbsp unsalted butter until melted.
- Pour the pudding over the frozen crust and spread it evenly.
- Refrigerate for 1 hour, then freeze for 1 hour until the pudding is firm.
Phase 3: The Final Assembly
- Whip 1 cup chilled heavy whipping cream and 0.25 cup powdered sugar until stiff peaks form.
- Gently fold the whipped cream into 1 quart of slightly softened vanilla or chocolate ice cream.
- Spread the ice cream mixture over the frozen pudding layer.
- Freeze for at least 4 hours until the top is set and firm.
Fixing Texture Issues
Most issues with this cake happen because of temperature gaps. If the pudding is too warm when it hits the crust, the butter melts and the base becomes soggy.
Troubleshooting Common Issues
| Issue | Solution |
|---|---|
| Pudding layer too runny | This usually happens if the mixture didn't reach a full boil. Cornstarch only activates its thickening power once it hits a specific temperature. |
| Stop the ice cream from sticking | The ice cream can grip the sides of the pan if it's too cold. Run a thin knife around the edge of the springform pan before releasing the latch. Trust me, this saves you from a crumbled edge. |
| Why did my crust crumble | If you didn't press the crumbs firmly enough or skipped the 15 minute freeze, the butter didn't lock the crumbs together. It'll still taste good, but the slices won't be as clean. |
Ingredient Swaps and Ideas
You can change the flavor profile without changing the chemistry. If you want something lighter, try a whipped topping version for a more airy feel.
For a peanut butter twist, swirl two tablespoons of warmed peanut butter into the ice cream layer before freezing. If you need a gluten-free option, use gluten-free chocolate wafers or crushed almonds mixed with cocoa powder and butter.
You can also swap the vanilla ice cream for mint chocolate chip to create a "Grasshopper" style cake. Just make sure the ice cream is slightly softened before folding in the whipped cream, or you'll end up with lumps.
Adjusting the Portion Size
If you're making this for a smaller group, use a 6 inch pan. Reduce all ingredients by half. Since the volume is lower, you can typically reduce the final freezing time by about 20%, but still give it at least 3 hours to be safe.
When scaling up for a massive party, don't just double the recipe in one pan. It's better to work in batches. If you do double the pudding in one pot, extend the cooking time and stir more frequently to avoid scorching the bottom.
For the ice cream, work in two separate bowls so you don't deflate the whipped cream while trying to fold a massive amount of ice cream.
Dessert Misconceptions
Some people think no bake desserts aren't "real" baking because they don't use an oven. That's not true. This recipe uses starch gelatinization, which is the same chemistry used in many baked custards.
Another myth is that ice cream cakes always melt too fast. The trick here is the pudding layer. Because the pudding is denser than the ice cream, it provides a thermal buffer that slows down the melting process from the bottom up.
Storage and Waste
Store this cake in the freezer in an airtight container or wrap the springform pan tightly with foil. It stays fresh for up to 2 months. If you move it to the fridge to thaw slightly before serving, do so for about 20 minutes.
To avoid waste, save any leftover chocolate wafer crumbs. You can sprinkle them over a bowl of yogurt or use them as a topping for a chocolate mousse. If you have leftover whipped cream, freeze it in ice cube trays and pop them into your morning coffee for a creamy treat.
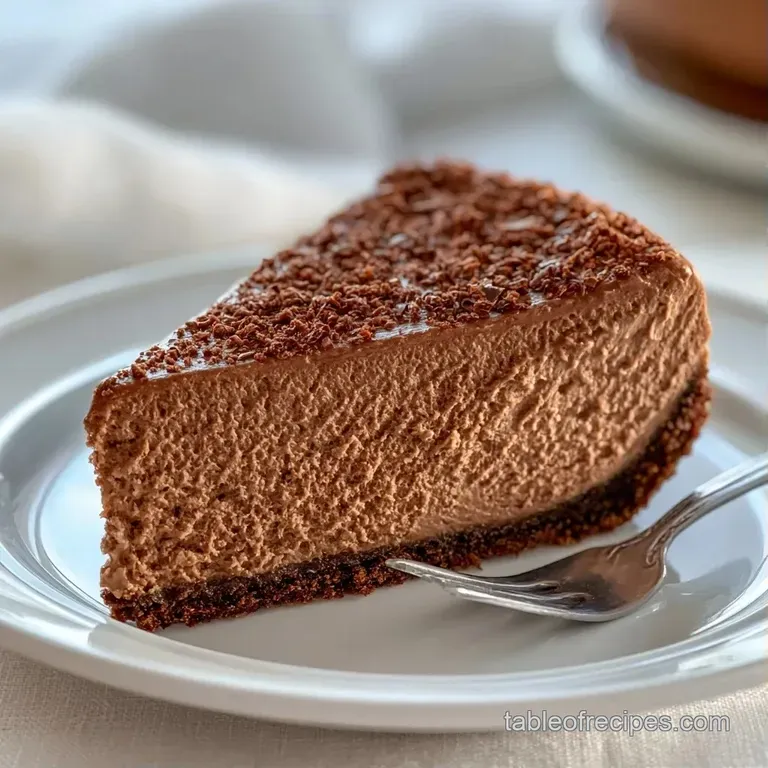
Serving and Plating
To get those clean, professional slices, dip your knife in hot water and wipe it dry between every single cut. This prevents the ice cream from dragging the pudding layer upward.
For a café style presentation, serve a slice with a few fresh raspberries and a drizzle of melted chocolate. The tartness of the berries cuts through the richness of the Chocolate Pudding Ice Cream Cake. If you're feeling fancy, add a sprinkle of flaky sea salt on top to make the cocoa flavor pop.
Recipe FAQs
How to prevent the pudding layer from being too runny?
Whisk the mixture over medium heat until it reaches a full boil. Cornstarch only activates its thickening power once the pudding hits a specific temperature.
How to stop the ice cream from sticking to the pan?
Run a thin knife around the edge of the springform pan before releasing the latch. This prevents the ice cream from gripping the sides and keeps the edges from crumbling.
Why did my crust crumble upon slicing?
You likely didn't press the crumbs firmly enough or skipped the initial freeze. Ensure you press the chocolate wafer mixture firmly into the pan and freeze for 15 minutes to set the butter.
How to assemble the ice cream cake layers?
Pour the pudding over the chilled crust and freeze until firm. Fold whipped cream into softened ice cream, spread it over the pudding, and freeze for at least 4 hours.
How to store and thaw the cake for serving?
Keep the cake in an airtight container in the freezer. Move it to the fridge to thaw for about 20 minutes before slicing for the best texture.
Can I use a different chocolate base for the crust?
Yes, you can use various crumbs. If you enjoyed the rich chocolate profile here, see how we use similar cocoa elements in our Mississippi Mud Cake.
How long does the ice cream cake last in the freezer?
It stays fresh for up to 2 months. Wrap the springform pan tightly with foil or use an airtight container to prevent freezer burn.
Chocolate Pudding Ice Cream Cake